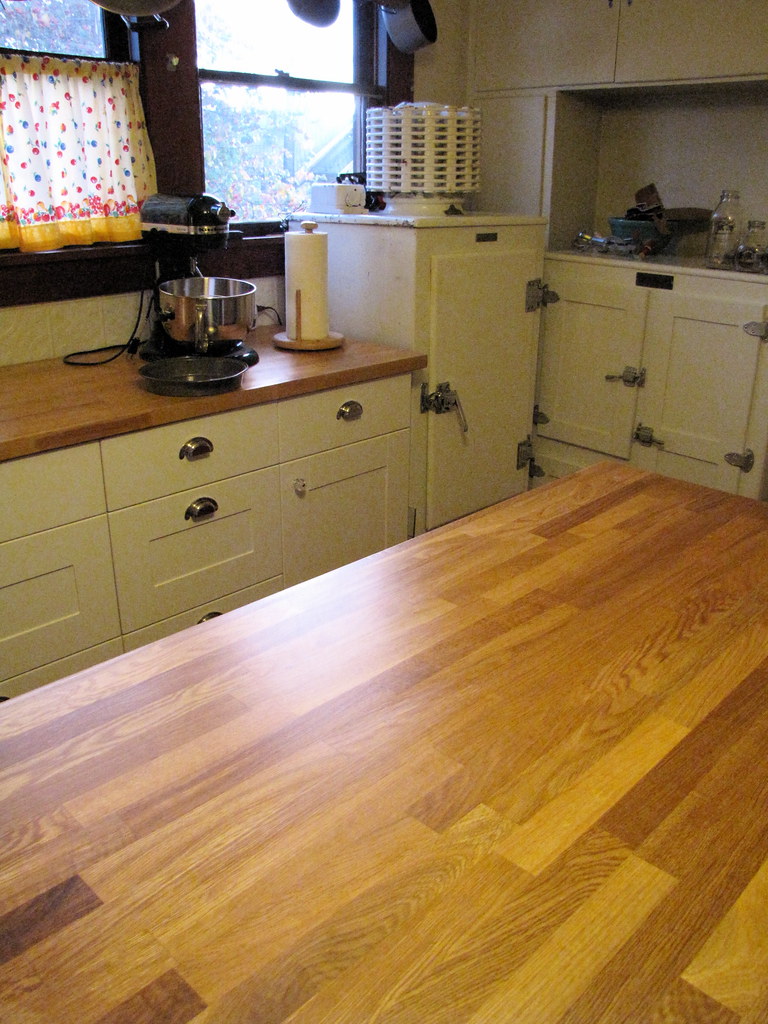
How To Re-Laminate Countertops

Your laminate countertops are extremely hard-wearing, but over time styles change and it can lose its ability to resist damage and staining and can start to show scratches or fading. If your countertops are showing wear and need to be replaced, you don’t have to go to the expense of installing a brand new countertop, instead you can re-laminate. Re-laminating isn’t as difficult as it may seem at first. Here’s how you can go about it:
Preparation:
The first thing is to measure
your countertops. Replacement laminate sheets are available at most home
improvement stores usually in 5 or 10-foot sheets. If you do not want
to cut them yourself (see below for how) some stores will cut them to
size for you. For those that have the store cut for you, ensure to have
it cut slightly larger than your measurements so that later you can trim
them for the exact size that you need as you install.

Tools needed: Laminate cutting blade for a utility knife - to cut and Trimline toothed saw blade for your circular saw or jigsaw Laminate cutting bit for your router.
Additional supplies: sandpaper, contact cement, several small dowels or thin pieces of wood (long enough to extend more than the width of your countertop) and a roller (a simple kitchen rolling pin will do the trick though).
How to Cut Laminate
By Hand: You can cut your laminate easily to size using a sharp utility knife and a straight edge. Just ensure that you measure carefully. Use a straight edge as a guide and score the laminate. Simply bend the sheet until it snaps along the line.
Power Tools:You can also use a fine-tooth saw blade to cut laminate. To prevent chipping while you’re cutting, run a strip of masking tape along the cut line and since power saws cut on the upstroke, cut from the backside of your sheet. You can also buy router bits that are designed specifically for cutting laminate, they can make trimming and edging easy.
Re-laminating Your Countertops
You do not have to remove your existing laminate, you are going to install the new one right over the old, so start by sanding your existing countertop to roughen the surface and give the contact cement a surface it can hold on to. Clean and vacuum away all the dust from sanding to ensure the contact cement will make a clean/strong bond with the countertop.
Spread a thin layer of contact cement on both the sanded countertop and the new laminate sheet. The glue will need some time to set (about 5 to 10 minutes) but check the manufacturer’s instructions on the container label as temperature, time of year or humidity can be a factor.
While you this is setting, place the wooden strips or dowels on the counter about 18 inches apart pointing towards you so that a small section overhangs the counterpointing towards you. Place them so that they go the length of your counter (They will not stick to the glue).
Once the contact cement is slightly tacky, position the new laminate sheet over the old countertop resting on the wooden dowels. You will need a second person to help at this step as the sheet can be difficult for one person to position properly.
Once you are happy that laminate is positioned properly, start to lower into place at one end by removing the first of the wooden dowels. Press the sheet down firmly onto the counter and use your roller or rolling pin to ensure there are no air bubbles and that you have good contact. Repeat this step with the next dowel rolling that section into place. Move along the length of your counter, removing the dowels one at a time and rolling down the new laminate.
Once you have finished all of them, trim away the excess edges flush with your countertop.

Great post. Will bookmark it for future reference.
ReplyDeleteThanks for posting, very helpful post.
ReplyDeleteThis is very informative. I never knew lamination can be done this easily, I will try it at home.
ReplyDeleteinformation article will mention here
ReplyDeleteGreat content.
ReplyDeleteስላጋሩ ብዙ ሰዎችን ለማመስገን ይረዳል .. ታላቅ ስራ!
ReplyDeleteThis is very informative.. it will help many people thanks for sharing! Great job
ReplyDelete